Okay, so I'll try to make this short! I purchased a completely different dining room set back in September of last year and when I finally got around to refinishing it (I was busy) it just didn't work in our space.
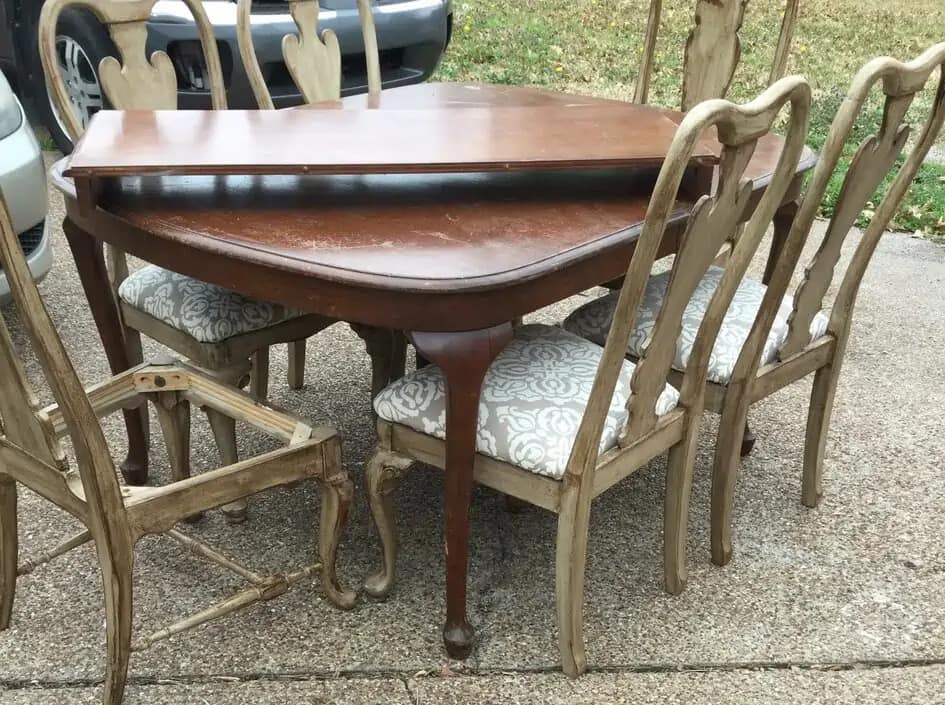
Thankfully, I found a new set that fit our space and just needed to be refinished. Here it is with the chairs almost finished and the mahogany table in its original finish:
I was planning to leave the table raw and unfinished but once it was sanded down I knew I wouldn't be able to just seal it & call it a day. The leaf was a different wood with red tones and various discolorations throughout. So, there was no way I could leave it unfinished.

I immediately ruled out actually bleaching the wood because once you do that you forever change the wood and I just wasn't willing to risk it. I decided to use paint instead to create the raw wood look I was going for, which would tone down the red, conceal any discoloration, and blend the three pieces together. Also, if for some reason I didn't like it I could easily change it. I chose Sandy Blonde by DIY Paint and simply applied it like a wash. If I applied the paint too thick I'd just dip my brush in water and thin it out enough to reveal the wood grain and not all of the flaws.


After just one coat I had the look I wanted, so I added a top coat that's no longer being made, but I would highly recommend the Varnish Top Coat (matte finish). We then moved it into our dining space and while I had just successfully created the look I was going for, I didn't love it. Turns out I'm not as ready as I thought I was for the bleached/raw look. However, if you love this look then you can stop right here...just add a top coat and you're done! But if you'd like to see what I did next, please continue to read below.

I grabbed some Spray Waxes out of my cabinet, which are no longer available. Now, I would substitute those with the Wise Owl Glazes in Black Walnut or Java and Driftwood. I already applied the top coat, so I added Driftwood sparingly with a ClingOn paintbrush. These brushes are used wet/damp and work great with all these products. However, you can also use a sponge to apply glazes.

You can see the difference adding a dark glaze makes. This was much more to my liking. The Driftwood is definitely a blue-gray and I immediately wiped back most of it using a damp sponge. It was a little too dark for my needs but once I applied a brown over it it was perfectly subdued. I really liked the look of it but decided not to add any more of the Driftwood over the top. But, you can see where I used it on the corner edge of the table. *Use a damp sponge to wipe back and/or remove any excess, & blend in the glaze.
You'll then want to seal your top with 2 final coats of Varnish Top Coat, allowing a few hours of dry time in between coats. This is a water-based top coat that comes in a Matte or Satin finish and absolutely will NOT yellow.

I should mention that for the table skirt and legs I used Faded Burlap, by Debi's DIY Paint. And here is my finished table, albeit in a more natural color vs my first raw/bleached look but I love it and hope you do, too!
