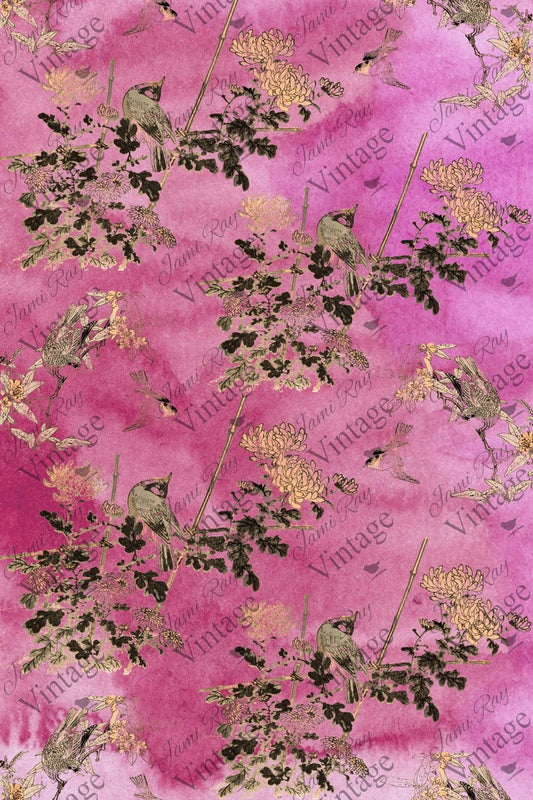
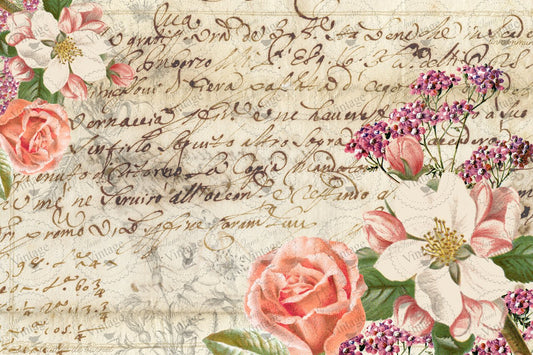
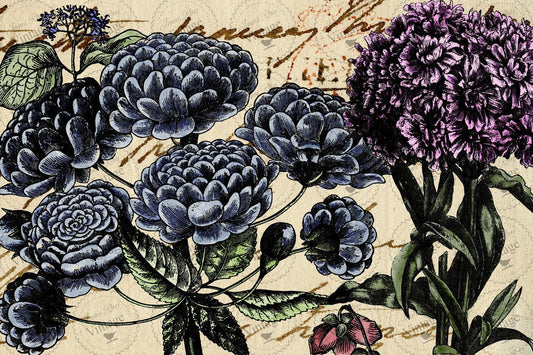
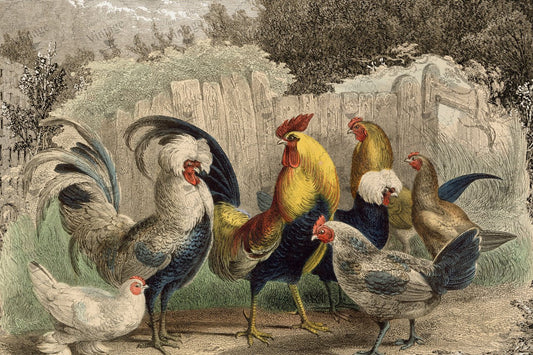
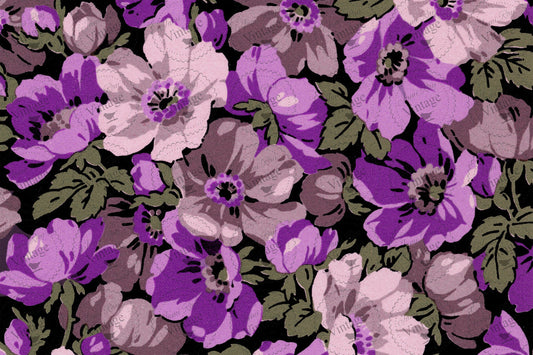
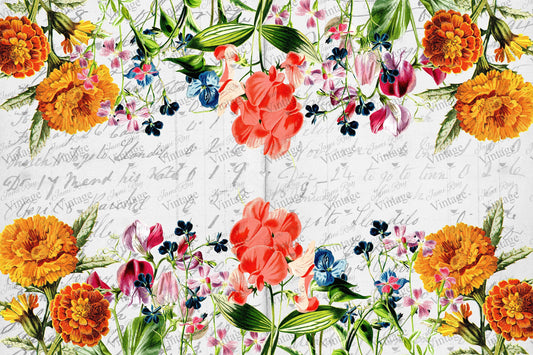
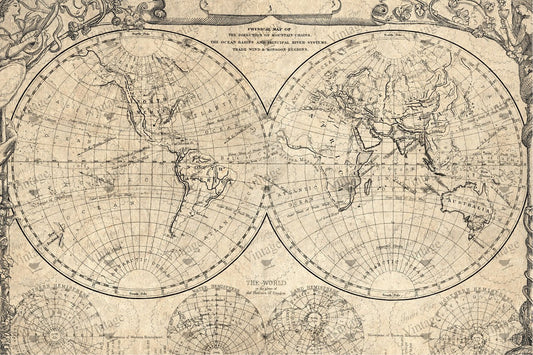
Collection: JRV Decoupage Papers
Jami Ray Vintage – JRV Decoupage Papers are a must-have for any DIY enthusiast or crafting enthusiast. These high-quality decoupage papers feature beautiful and unique designs that can be used to decorate a wide range of items, including furniture, frames, and more. With a variety of patterns and colors to choose from, these papers are perfect for adding a touch of vintage charm to any project.
Made from premium materials, JRV Decoupage Papers are easy to use and can be applied to almost any surface. Whether you’re a beginner or an experienced crafter, these papers are a great way to take your creativity to the next level. Shop now and discover the endless possibilities of Jami Ray Vintage Decoupage Papers!
Here are some steps on how to use decoupage papers:
- Choose your surface: Decoupage papers can be used on almost any surface, including wood, glass, plastic, metal, and more. Make sure your surface is clean and dry before you begin.
- Select your decoupage paper: There are many different types of decoupage papers available, with a wide range of colors, patterns, and designs. Choose the paper that best fits your project and personal style.
- Cut or tear your paper: Cut or tear your paper to the desired size and shape. Keep in mind that smaller pieces are easier to work with, especially on curved or intricate surfaces.
- Apply the decoupage medium: Apply a thin layer of decoupage medium to your surface using a brush or sponge. Make sure to cover the entire surface evenly.
- Place the paper on the surface: Place your cut or torn paper onto the wet decoupage medium, making sure to smooth out any bubbles or wrinkles.
- Apply a topcoat: Once your paper is in place, apply another layer of decoupage medium on top of the paper. This will help to seal the paper and protect it from wear and tear.
- Let it dry: Allow your project to dry completely before handling or using it.